 July 2010 I had the idea for a book. A frustrated housewife, facing 50, would write a humorous diary about her life. However, after researching it I realised the diary format was “old hat”, so, after several more glasses of Chardonnay, I had a eureka moment. The woman would write a blog and end up making hundreds of friends online. How difficult could that be? Of course, I had to set up a blog, and then I had to find friends or as I now know them, followers.
Setting up the blog was simple enough, even for an internet dunce like me, but followers?
If I tell you that after one year of blogging I had over a thousand people following the blog, then you’ll realise it is easier than you think.
First off though, you need some way of letting people follow your blog so they know when you have posted.
I originally started blogging using Blogger as my platform. It has got even easier to use over the last two years. First, make sure you are signed into your blog. Top right of your blog will show three options: NEW POST, DESIGN, LOGOUT. Click on DESIGN then on “Layout” to be found on the left hand side. When clicked, it turns orange. That should open a page similar to this: Continue reading “Follow You, Follow Me”
Like this:
Like Loading...

 I’m half Czech. And Czechs are notoriously frugal (okay, fine – we’re cheap!) as well as practical. So if there’s an easy and inexpensive way to do something, I’m there.
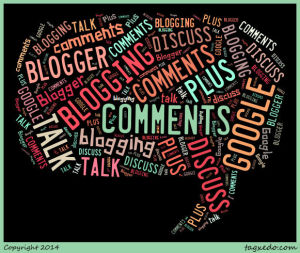 The idea of having a blog is not just to sell books – although, hey, if someone’s moved to buy mine after reading one of my posts, I’m not going to stop them. But ideally, you’re blogging to offer your thoughts and ideas to the Universe, and maybe even get a dialogue going.
 Remember when you were a kid, parading around in Mom’s high heels and boa? Remember how much fun it was? Well, you can recapture that magic by dressing up your blog.