
 We’ve had a couple of posts here at IU recently about Facebook Live. First, Alan Parks tackled what it is and why an indie author might want to do it in the first place. Then our own K.S. Brooks wrote about her experiment with the feature.
One thing that hit me, as the other minions and I helped Kat set up her video debut, was the importance of good lighting. Lighting can bring out your best features – or it can turn you green, or make your eyes seem to recede into your skull, or even make you the spooky storyteller at the campfire. And lighting for video is a little less forgiving than it is for still photography.
For a Facebook Live! video, we’re going to assume you want to bring out your best features. You will probably be sitting inside, maybe at your desk. The first thing you’ll want to do is position your chair so that you have a neutral background behind you. A picture on the wall is okay, but the background shouldn’t be so busy that it distracts viewers from your face.
Also, don’t sit in front of a window unless you hang a blackout curtain over it – and I mean blackout, with no rays of sunlight peeking through. The video camera on your computer (or tablet or phone) will set its light level automatically on the brightest thing it sees; if it keys on bright sunlight from your window, you will look like you’re sitting in the dark.
The next thing you want to do is turn off your overhead light. Lighting you from the top will do two things: you’ll have a bright spot on top of your head, and the shadow from your brow ridge will make you look like you have raccoon eyes. Plus if it’s an old-fashioned (not daylight or “soft light”) fluorescent bulb, it may make you look green.
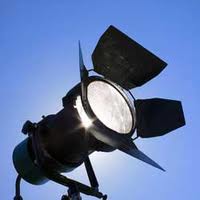
So if you can’t use the window and you can’t use the overhead light, what can you do? You can bring in lamps. And in fact, three lamps are all you need.
This diagram
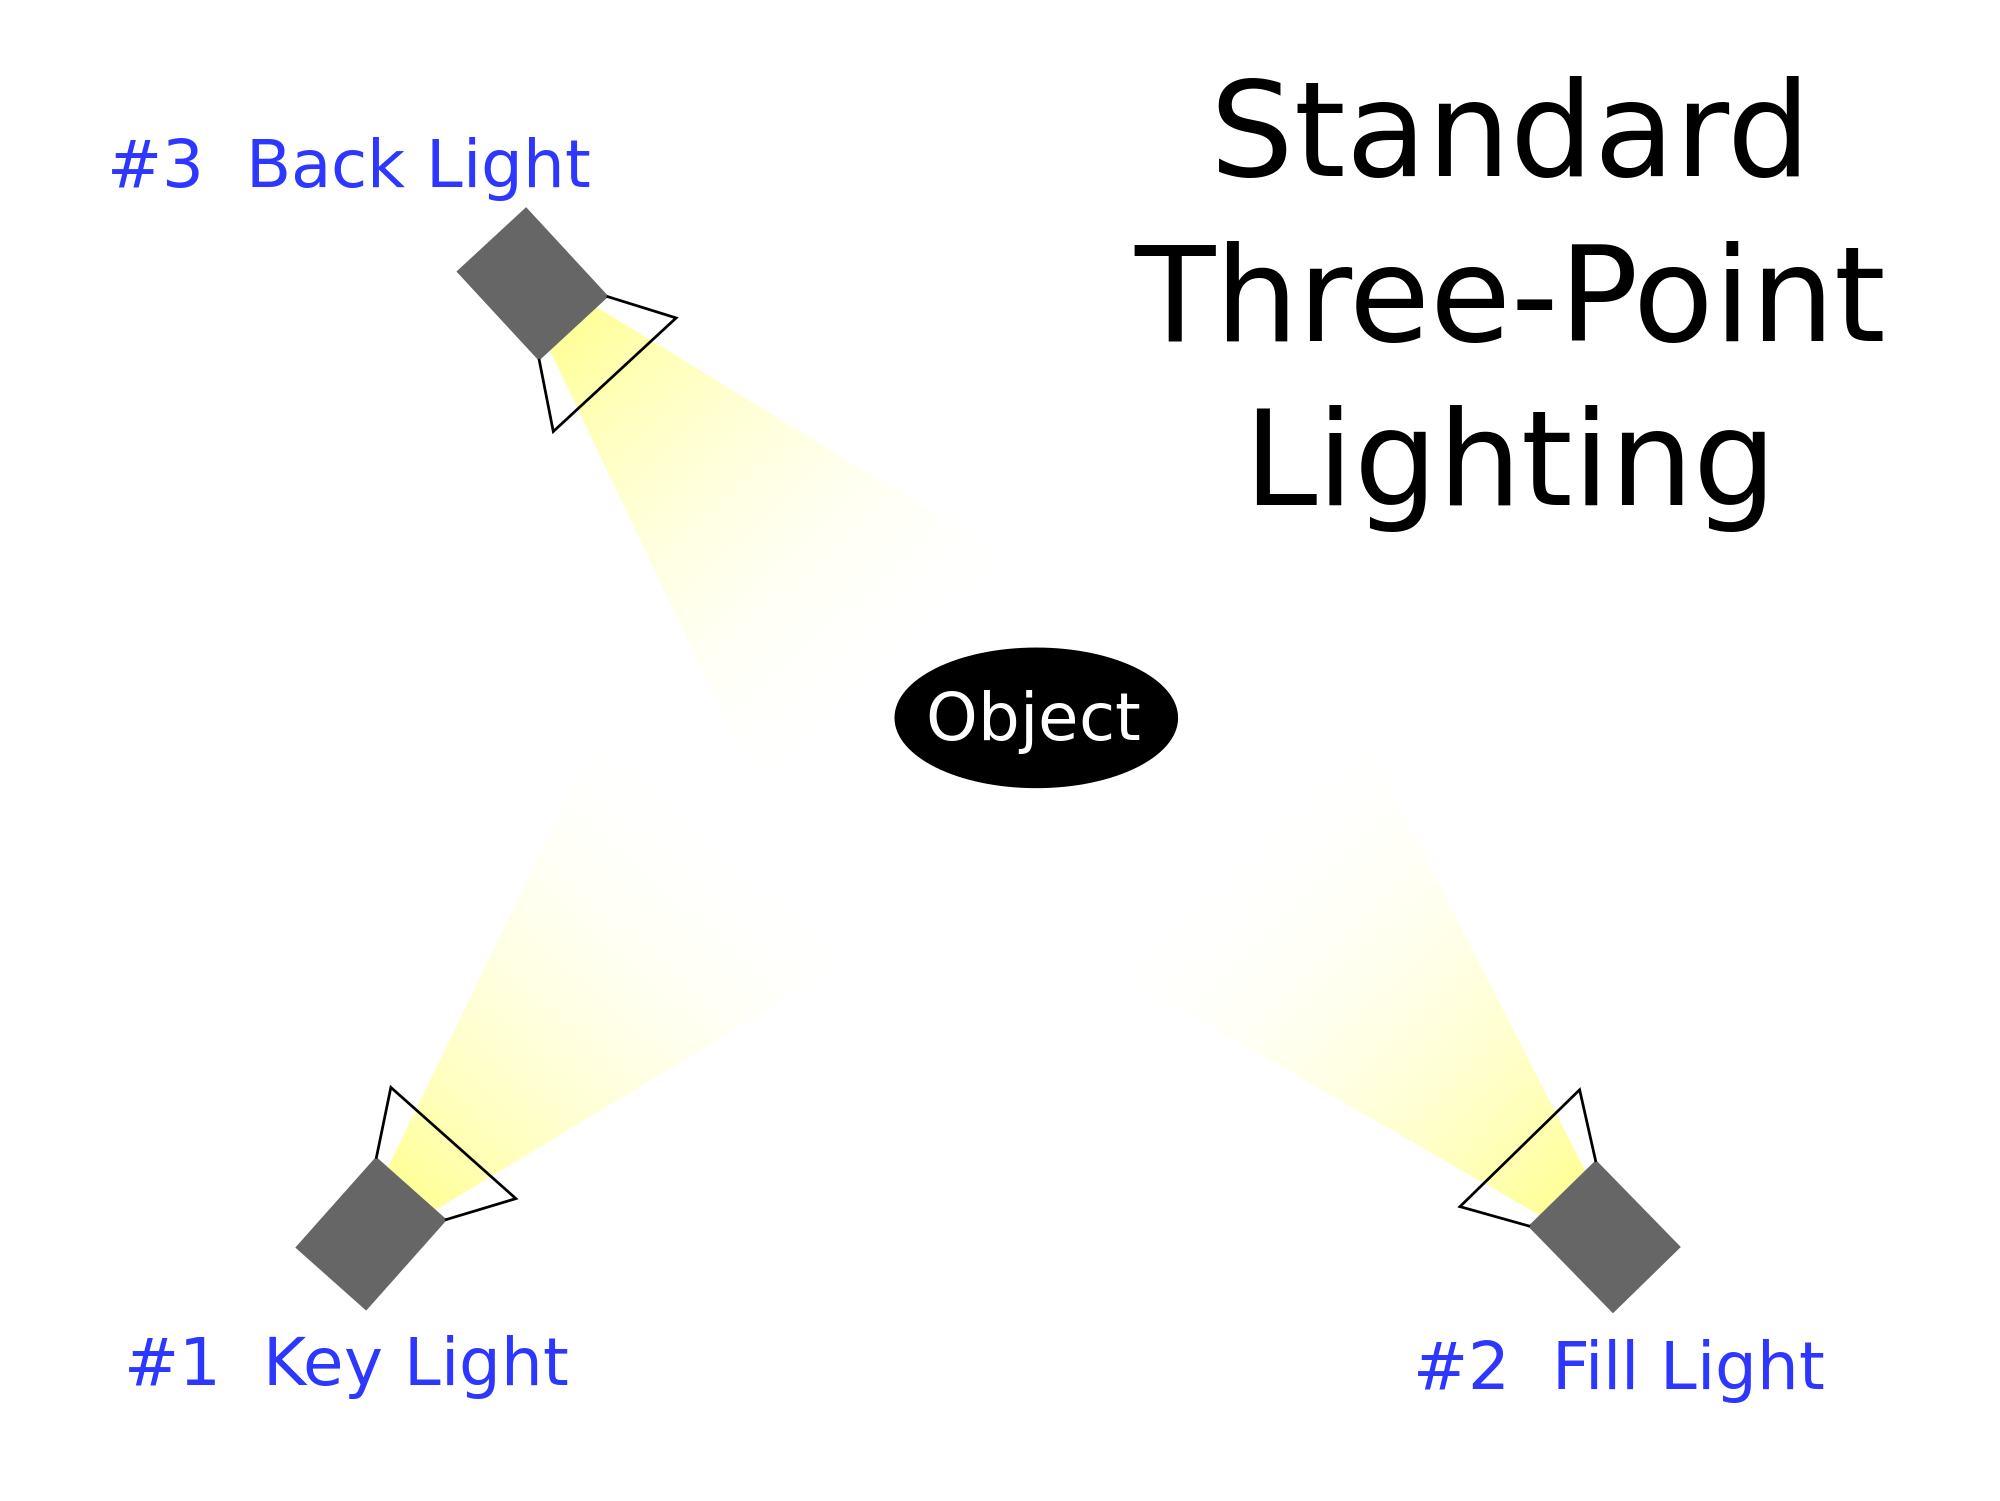
shows a standard three-point lighting setup. The Object – the black oval in the middle – is you. The back light is designed to differentiate you from the background, and contrary to the diagram, it should actually be facing away from you; if you have a downbridge-style lamp that you can adjust to bounce the light off a wall behind you, that’s perfect.
The key and fill lights should be positioned on either side of your computer/tablet/phone camera. Their job is to light both sides of your face. They don’t have to be exactly equidistant from the camera, but they shouldn’t be wildly unequal, either. Set them at a height a little above your eye level. If they’re too low, you’ll get the campfire-storyteller effect; too high, and Raccoon Eyes will be back. But don’t sweat it. This is Facebook video, after all, not a professional video shoot. Nobody is going to expect you to have a video studio in your home.
Although if the idea of a home video setup intrigues you, I found this helpful article, entitled Lighting on the Fly. It goes into a lot more detail about types of light fixtures, and there’s a link toward the bottom to a video that shows how you can build a cheap, portable lighting kit of your very own. The video’s worth a look regardless, as it illustrates most of the things I talked about above.
Just keep these tips in mind, and you’ll look mahvelous!
Good post, Lynne; I think we’re so used to on-the-fly selfies anymore that we don’t think much about the lighting, so this is a good primer and not difficult to set up. I’m planning on doing a Live! discussion–maybe next week–so this was timely for me. Thanks!
You’re welcome, Melissa! Glad to help.
I hear what you’re saying about selfies. But a Facebook Live video is an extended look at your face, so it’s not a bad idea to take a little more time to set it up. It literally took ten minutes to set up mine.
We could be really mean with our camera angles and lighting if a client was particularly difficult. I may not get into heaven for behaving badly sometimes out on location. 🙁
Well, I was assuming people would be setting up lighting for themselves. But I understand the temptation. 😀
That’s good to know, Lynne. Thanks. Now that I have a tablet I may actually be able to attempt this. The feature won’t work correctly on a PC or laptop.
You’d be awesome at it, Yvonne. 🙂
Great info. about the lighting, Lynne, but I’m photo-shy so live video-ing would be a million times worse. Just thinking about doing something like this is frightening. Bravo to all those courageous enough to give it a go!
Stick the idea in your back pocket, Meeks. Maybe someday you’ll need it. 🙂
I suggest the key and fill lights should be a bit different. If one is brighter than the other (just a little bit) it gives your face more definition. Of course, if your face already has a lot of definition like mine seems to have these days, make them equal 🙂
LOL, Gordon!
There are a number of tweaks you can do with this setup, of course. As you point out, moving the key and fill lights around, or making them different wattages, will make a difference. Another hack, if you will, in the video I linked to involves using natural light (filtered sunlight, not a bright glare) from a window as your key light, and using a reflective surface as your “fill light”. They use an actual reflector in the video, but a white wall would also work.
I figured the idea of three lamps would get people thinking about it, at least. 🙂