
 I never dreamed of writing a children’s book — didn’t think it was my style. Well, a little ducky changed that. Her name is Sevy, and she caused me a whole heap of trouble as a duckling. I’d posted her exploits on Facebook and everyone kept urging me to write a children’s book. Okay, I did. The print version had its headaches with formatting, bleed, and such, but it’s out there. The eBook, however: I could never get the formatting right for some reason, so I ignored it for a couple of years.
Enter the mighty Amazon and the Kindle Kids’ Book Creator. This is a free download that you can pluck from the KDP login page. There’s also a short (video) on the KDP website that’s pretty helpful.
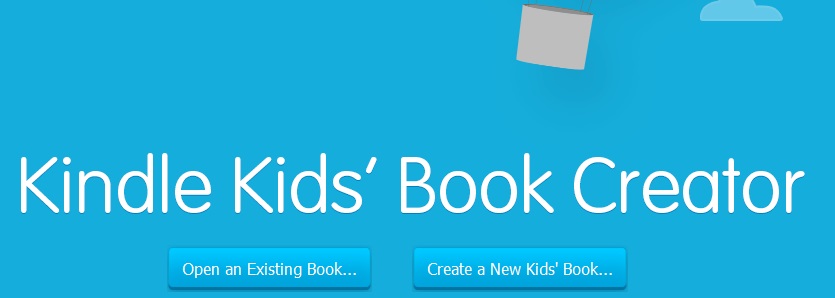
Once you have it downloaded, open it up, kick the tires and take it for a test drive. There’re two simple prompts at the bottom: Open an existing book, or, Create a new kids’ book.
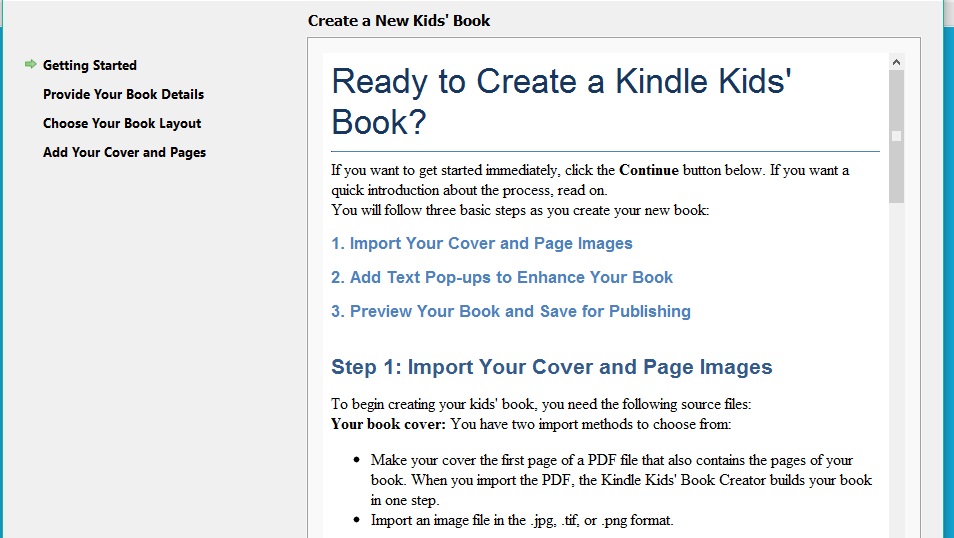
 Let’s create a new book. The first screen you see is a welcome screen with a quick self-tutorial to get you started. Yes, read it through at least once, there’s helpful info there.
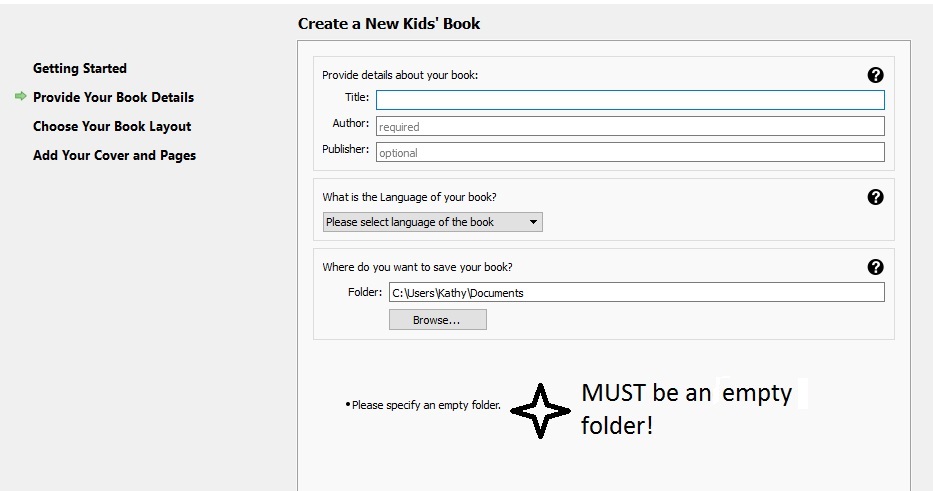
 Once you’re past the welcome screen, you’ll be directed to the metadata screen. In order to get past this screen, you must select (or create) a blank folder where the data can be dumped.
 From the metadata page, you’re taken to the book-building area. And the next screen you encounter is the layout area.
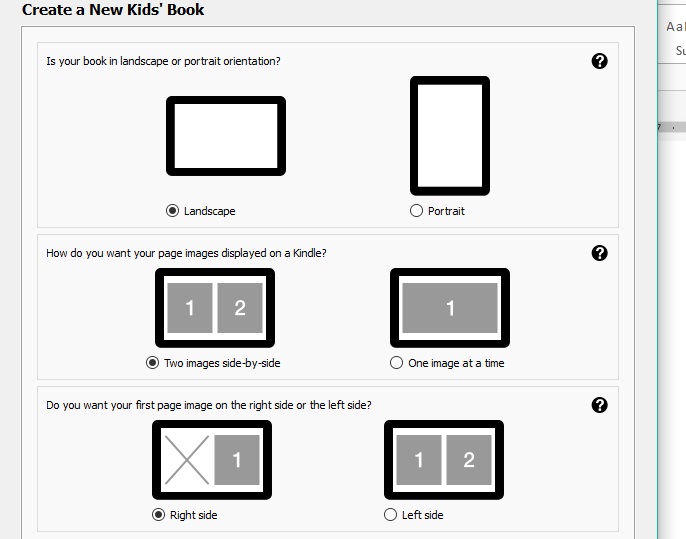 Select how you want the book to look. Keep in mind, not everyone has ultra-fancy eReaders. After you have entered all the details, go to the options page where you have two choices: 1. to upload a manuscript with the cover already included; or 2. Upload a cover and then upload the manuscript — that’s the option I found easiest.
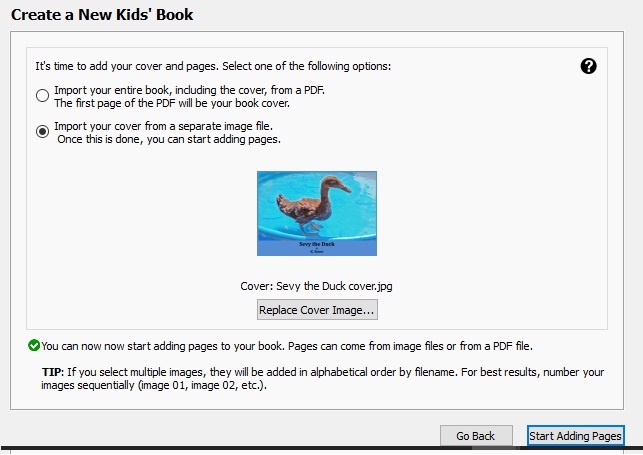
 If you pick option 2, you’ll be asked to upload a cover image from your files.
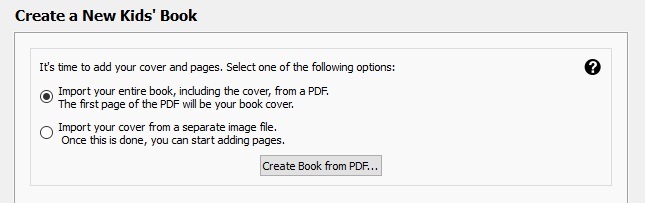
 Note that at the bottom, it says to Start Adding Pages. If you have your book already saved as a PDF, it’s easy cheesy. The one thing you must remember (especially if you converted your PDF from a Word doc) is to make sure there are SECTION BREAKS at the end of each page. If you don’t have them, your book will run together and be a mashed up mess. (I speak from experience!).
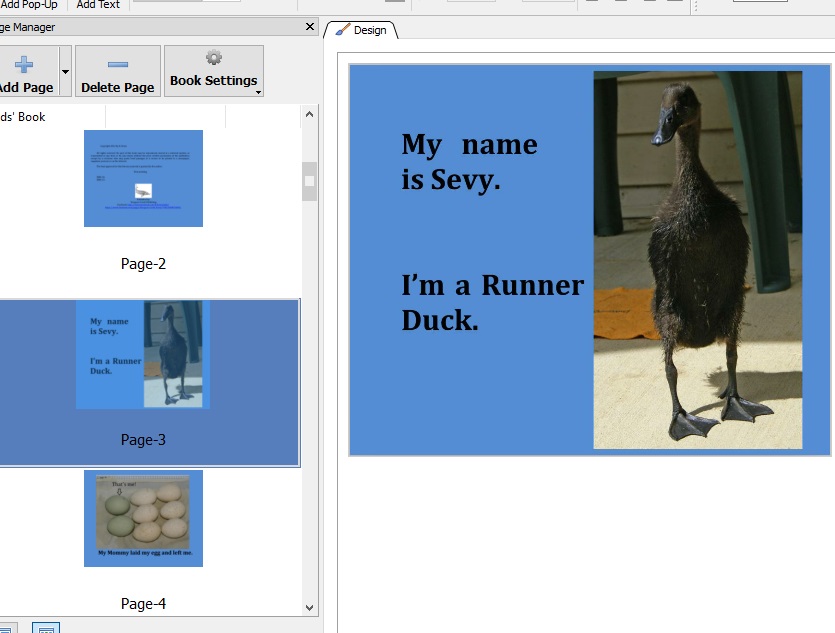
There will be a prompt for you to grab the document you want to import (somewhere on your computer). Select the PDF file and it will upload to the program. Have patience, it can take a minute or two. Once loaded, you will see this:
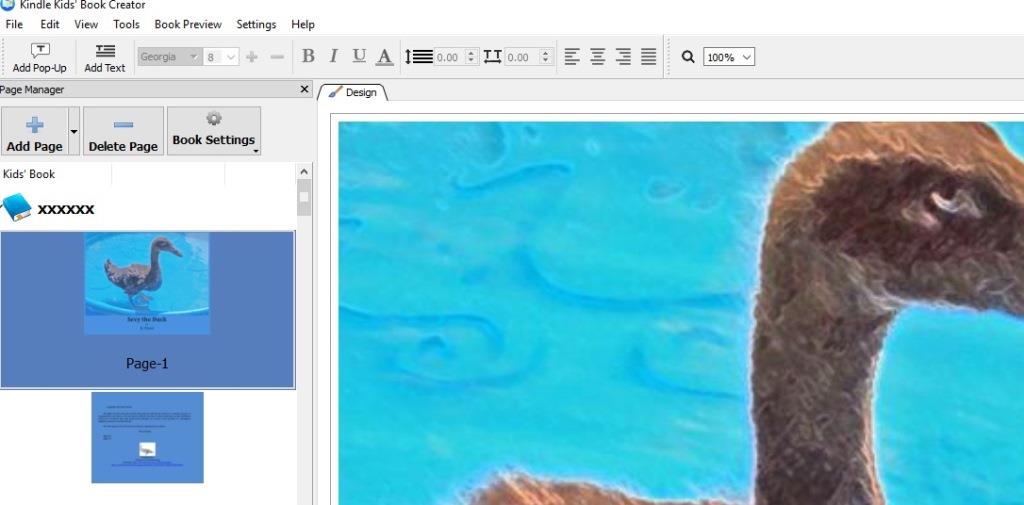 Now, if you don’t already have text in your document and you’ve uploaded just your images, there’s a neat little tool called ADD POPUP. This will allow you to add pop-up text to your book — so when a finger or mouse is moved over it, the text pops up and becomes larger. Don’t do this if you have text in the manuscript already — it makes a mess!
 Index through the entire book to make sure everything is where you want it. If not, you’ll have to go back to your existing word document and make changes, save it again as a PDF, and start over.
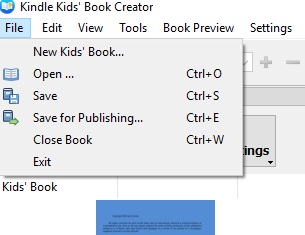
 Once you’re happy with everything, click the FILE button in the corner and select Save for Publishing.
 Your previously selected destination folder will pop up and you can save it right then and there. If you’re ready to publish on KDP, go to the site, log on, and enter the book info. When you get to the part of Browse for your book, go to the folder and select the icon with the cute little blue book. That’s your PRC (mobi) file.
Once loaded, you’ll be asked to preview the book — oh, yes, definitely! This is the make or break point. If there’s something wrong on the preview, it’ll show up to the readers. So if you see something, fix it, and upload a new version. Just don’t forget to delete all the old files off your computer prior to saving the new one, or the old versions will keep loading and messing you up (again, I speak from experience). You can usually find them in My Publications and My Kindle Content folders in your documents tab.
So there you have it, a quick and surprisingly clean way to upload a children’s book that won’t have you tearing out your hair. KDP also has other resources for publishing other types of eBooks, like comics and such. I’m glad I didn’t chicken out and not publish my children’s eBook; it’s been a learning experience and something I’ll be using in the future with some of my own clients.
I’ve had several people ask me about publishing kids’ books with pictures. This sounds ideal. Thanks for the walk-through!
You’re most welcome! Sometimes the best learning experience is when you HAVE to do something. 🙂
I never even know there were ebooks for children! This is a great tutorial, and I bookmarked it for possible future use – thanks!
I have 2 kids (on kin, one friend) who are glued to their smart devices- one is 3 and one just turned 5. So I guess kids ebooks are here to stay.
Oh, that’s good to know. My children were interested in writing a children’s book, and a tool like that would be very helpful in getting it formatted correctly.
Doing it via the PDF version seemed to be the easiest. You can import images and then add text, but I already had the client’s book in PDF.
Amazing timing. There was a thread over at a writer’s forum yesterday that asked about ebooks for kids…
LOL! Well, if I didn’t deliver something on time, Kat and EM would’ve sentenced me to 2 weeks of gruel rations. Although I do need to drop a few pounds…