
 If you have not already made a video book trailer because you thought it would take an expert, don’t worry. YOU can do this. If you follow the steps below, in less than thirty minutes, you can have a good start on a very basic video trailer for one of your books.
Not sure what a book trailer video is? Or not sure you need one? If you are still trying to get noticed as an author, a video trailer can help. People like movement, color, and sound. A video trailer accomplishes all these things in a very short amount of time while displaying your book’s information. Every opportunity counts – read Lynne Cantwell’s post on Effective Frequency to see why.
The following will guide you in creating a book trailer in less than thirty minutes. In my next post, we will add music to what we created, and upload it to the world.
If your computer (Windows-based) did not come with Windows Movie Maker (or Windows Live Movie Maker on newer machines), you might want to check out these other posts; using Animoto and xtranormal. I used Animoto first, and then tried Windows Movie Maker (WMM). I found WMM easier than I expected.
To make your very basic trailer, you will need to have the following information handy:
- Author Name
- Author Picture
- Book Cover
- Short Description
- Single Review Quote
- Where to Buy
- Thank You/Credits
To get started click START, and then click ALL PROGRAMS. You should see WINDOWS MOVIE MAKER listed. Click on it.
You should see the screen below (I’m using version 2.1). It looks complicated, but please don’t run away.
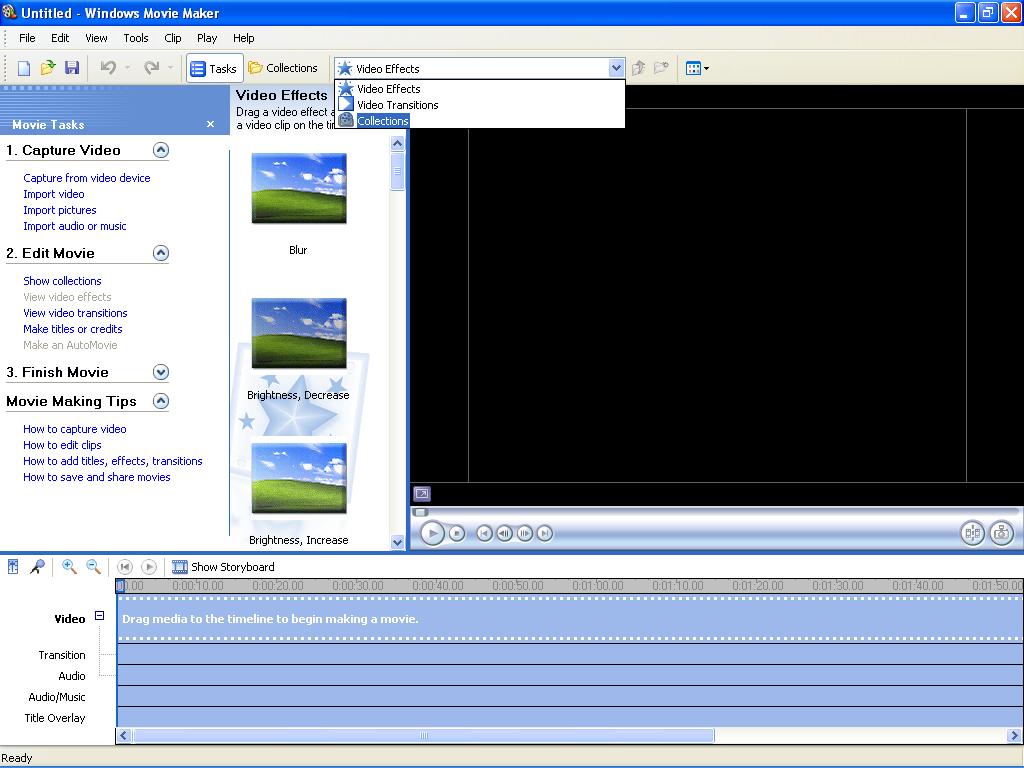
The first thing we are going to do is to bring your author picture into WMM. Highlight ‘Tasks’ on the second line. That will give you an area called ‘Movie Tasks.’ The first one listed is ‘1. Capture Video.’
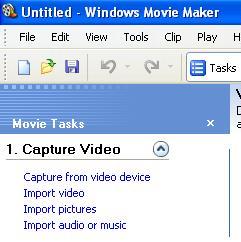
Click on ‘Import pictures.’ Look for your author picture. Highlight your author picture file, and then click ‘Import.’
My picture did not break my computer, and your picture should have been added to the ‘Collections:” area, along with being displayed in the large picture frame area. You have almost made your first video frame!
Before we do anything with your picture, I want you to look at the very bottom of your screen. That area is what is called the ‘Storyboard’ and it represents what your video file has in it. Right now there is nothing other than a white text that reads “Drag media to the timeline to begin making a movie.” 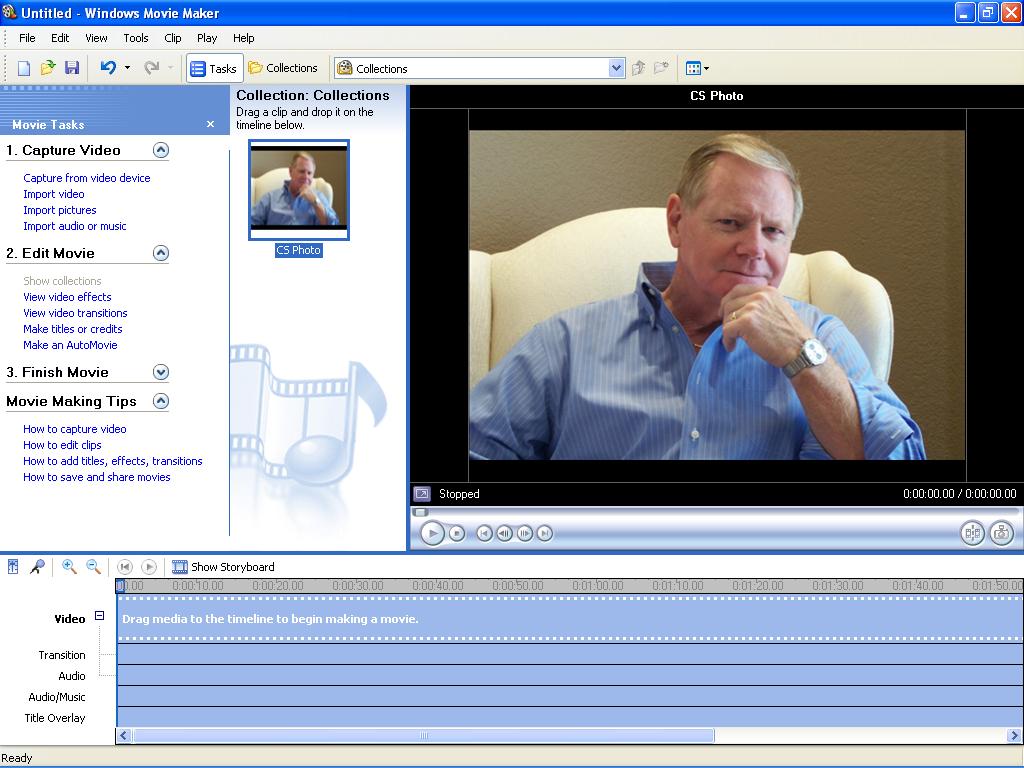
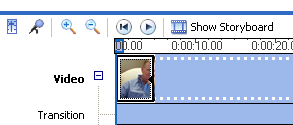
To do that, click on your thumbnail picture, holding the left mouse button down, drag it to the ‘Video’ line in the storyboard area. When you let go of the button, your picture should now be shown on this line.
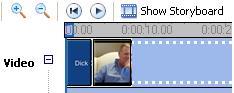
Here’s a snapshot of my picture on that line. If yours has your picture, we are ready for the next step.
I purposely did not start with the first video clip so you could see how to insert frames out of order. The first clip should show your name. So, we are going to do something to add that video.
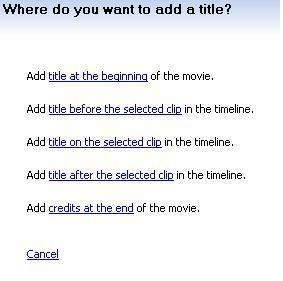
In the ‘Movie Tasks’ area, the second task listed is ‘2. Edit Movie.’ 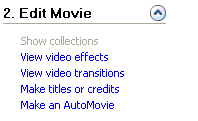 Click on ‘Make titles or credits.’ You should see the screen shown below next. Please read each of the options listed. We could select ‘title at the beginning,’ but I want you to select ‘title before the selected clip.’
The next screen gives you an area to type your text. Please type your name as it appears on your book’s cover page. As you type, it appears in the large picture frame area on the right.
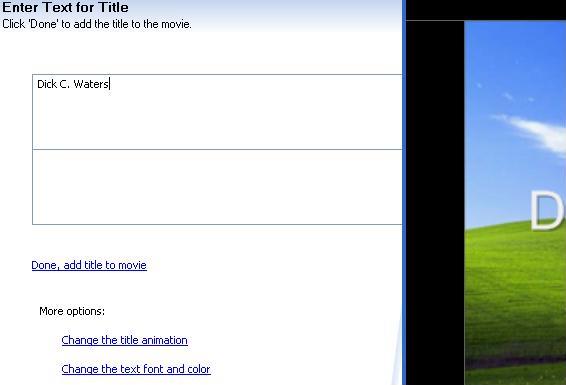
This screen also gives you the ability to change text font and color, and/or the title animation. We are just going to change the title font color and background color. So, click “Change the text font and color.” You will get the new screen, below.
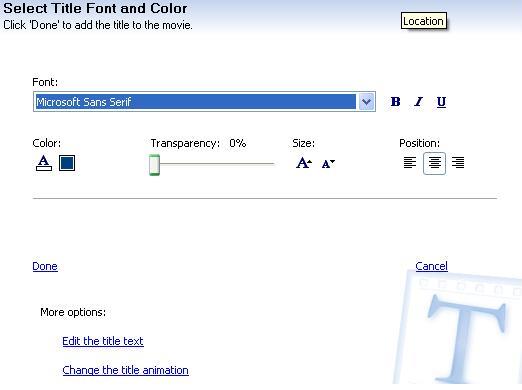
I want my text to display in white with a blue background. When you click on either of the two areas under ‘Color,’ the small rectangle under the A is for text color, and the rectangle to its right is for background screen color selection.
Pick your desired font from the drop down list. You can click on ‘B’ for bold, and ‘I’ for italics. I picked center format under ‘Position.’ Please make your selections and when you are done, click on ‘Done, add title to movie.’
Because we asked for that clip to be in front of our author picture, it placed it at the beginning of our video in the storyboard area.
Let’s recap before we go any further. You have now learned how to capture a picture, and add a formatted text frame. These are the foundation tasks. The rest is pretty much repetition.
Now, add your book cover to the video. Click ‘Import pictures,’ select your book cover file, and click ‘import.’ Then drag that cover thumbnail to the storyboard area at the bottom. (Refer to the steps above).
Add a brief book description. You will have the ability to change what you type later. Whittling your description down to one frame is probably the hardest part of the whole process, and has nothing to do with the Movie Maker application. Type your brief description. You will find some limitations here if you try to enter too many characters. Remember this – you want the viewer to buy your book!! The Evil Mastermind’s article on writing an elevator pitch may help you here. 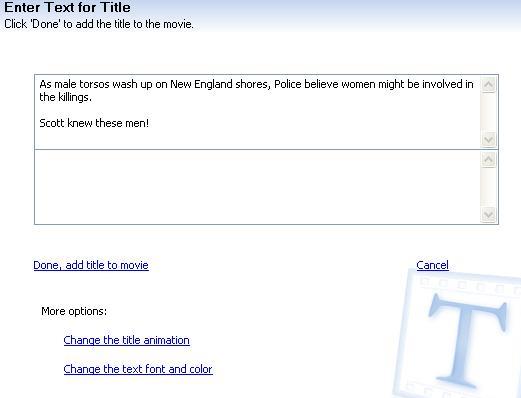
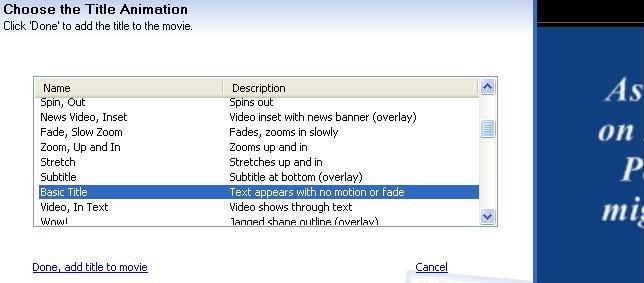
You can alter how your text displays in your video. To see the various selections, click on ‘Change the title animation’ under ‘More Options:’ in the above slide. As you highlight each one, it will display the selected option in the large picture frame area. When you find the effect you want (I selected ‘Text appears with no motion or fade’), click ‘Done, add title to movie.’
You can add another text frame for a reader review of your book. Keep it short, but put it in quotes with the reviewer’s name. Please check with the reviewer before you use their name.
Make sure to add another text frame showing people where to buy your book. I suggest mentioning the available book formats. Some people still like to hold a printed book.
Finally, add another video clip/text for a thank you. Here’s what mine contains – 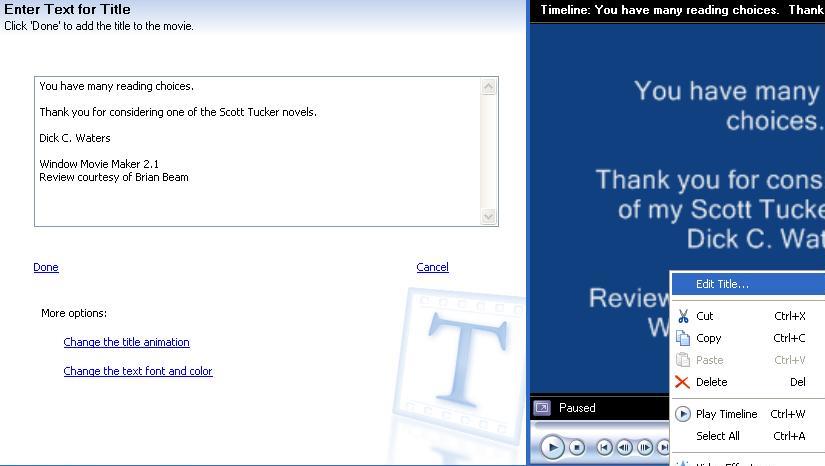
If you want to make changes to a text frame, right click the frame in the storyboard area, and then click “Edit Title.” If you want to change the order of your frames, just left click on them and drag them where you want them to appear.
Here’s my final storyboard, and if you created clips along with me, yours should be similar.
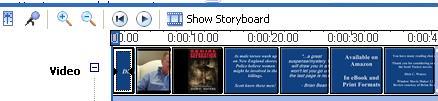
Ready to play your video? Click on the circle with the left arrow pointing to bar icon on the storyboard. This moves your video start point to the beginning. Then click the play, right pointing triangle. The video should play in the large display area, showing you the seconds as it plays, along with the final elapsed time. There was another article on IU which indicated recommends that your commercial should not be longer than 30 seconds. For what I wanted to convey, I felt if I kept it under a minute, it was a good starting point.
If you want to play with the timing of an individual video clip; you can click on the right side of the clip in the storyboard area, moving it left to shorten, or right to lengthen the time.
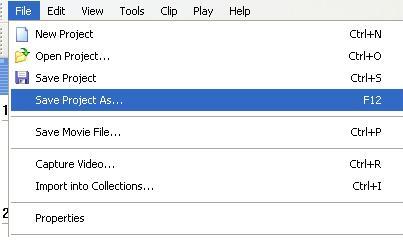
You should save your work along the way, but click on ‘File’ and ‘Save Project as’ which will save your work as work in process.
Of course, my trailer content isn’t necessarily the right content for everyone. For other ideas, check out Video Trailer Nuts & Bolts or our Video Trailer Resource page. Most importantly, have fun with it.
You can read Part 2: How to Add Music to Your Video, here.
Well you definitely have my attention. How is it different in presentation from Animoto? Do you have link to view one? I love trying new marketing ideas, and you always come up with something innovative. Thanks, Dick.
Hey Aron, if I may interject here for Dick, since I have used WMM a number of times as well as being an Animoto addict. This is a video I made with WMM: https://www.youtube.com/watch?v=W_ox_nWIK_w. It is great for slides and inserting clips of actual video. I personally find WMM a little bit cumbersome, but I don’t think I’m quite as patient as Dick is.
Animoto is very flashy, and very quick to use. You don’t have as much control, and for their free package you can only make 30 second videos. (To make longer videos, it’s like $30 a year for a membership. I make a lot of trailers, so the fee was worth it to me.) Animoto does the heavy lifting for you, and you end up with something really polished. Here’s one I made on the free package: https://www.youtube.com/watch?v=dbOsKGQXqhQ.
So, honestly, I’m an Animoto advocate, but really only because I’m impatient and want stuff done instantly with the least amount of work.
Thank you K.S. for the rescue.
Aron, I have little experience with Video Trailers, unlike K.S. who provides this service to others, but I felt it was easier than I thought.
No problem. 🙂 I really do like WMM for use with radio interviews and audio clips. Since YouTube won’t let you just upload an audio file (to my knowledge), if you want to share one, I find it very easy to put up a “slide show” which corresponds to the points during the radio interview. I made this one for an interview hosted by the wonderful Cyrus Webb on his radio station. https://www.youtube.com/watch?v=lcMXkdCN61I I think people are more inclined to listen if they have something to look at.
Dick, you have incredible patience. I think I will give it a go, my problem is that I want a Warner Bros. production LOL. (pockets are too shallow) I think all the steps appear to be overwhelming, if I can be quiet, I can do it.
Thanks, Kat, they are both good. You made it look easy. I will definitely check into it.
That is cute.
A journey starts with the first step. Just do the first step I outlined (Your Picture), and see if you might be getting somewhere.
Trust me…YOU can do this!
Excellent post! Thanks so much for the information!
My pleasure Patrick.
Thank you Dick C. Waters, and a thanks to K.S. Brooks for the added information.
We try our best to help.
I wish I had found a resource like this when I first started trying to make videos! I tried WMM but was overwhelmed by the number of options and had to search for something far more basic that limited my options.
I ended up finding Stupeflix. It allows you to make at least one or two free videos that can be as long as 15 minutes. There is free stock music and it link directly to Flickr so you find public use images. When you are done you can either allow your video to be hosted by Stupeflix or download it and then upload it to Youtube on your own.
After reading your post I’m tempted to try WMM again, I can see it can do so much more. For a good starter video and chance to learn the basics, Stupeflix is a good place to begin. Thanks for sharing.
https://studio.stupeflix.com/en/
Thank you for the information Marc.
There are several tools available to make video trailers. I was so impressed with WMM after one use, that I had to share my experience with others.
Please give it a shot and let us know how you make out.
This is an incredibly detailed post. Thank you!
Thanks Lois. I hope it gives some people enough info to try it.